Makeup Tips for the Everyday Woman
Raise your hand if you are a makeup junkie! We’ve mentioned it more than a few times…but we’re slightly obsessed! It honestly fascinates me to watch the way makeup artists work. There’s a reason they are called “makeup artists”. The have a knowledge and skillset that quite honestly, I constantly am trying to replicate.
Who is the everyday woman? She’s me! She’s you! She’s a busy woman with competing demands. A woman who wants to feel her best and doesn’t want to spend a fortune or too much time doing so. We were so happy to collaborate with Ashley Tiopo, one of the best Makeup Artists in Winnipeg, to share with you some of her top makeup tricks for the everyday woman. During our appointment, Ashley worked on one side of my face while she explained her tips and gave me step by step breakdown of what she was doing, and then she had me replicate on the other side. It was amazing to see the difference in how I was applying my makeup versus how she was doing it!
We compiled her top tips from that appointment and are excited to share them with you!
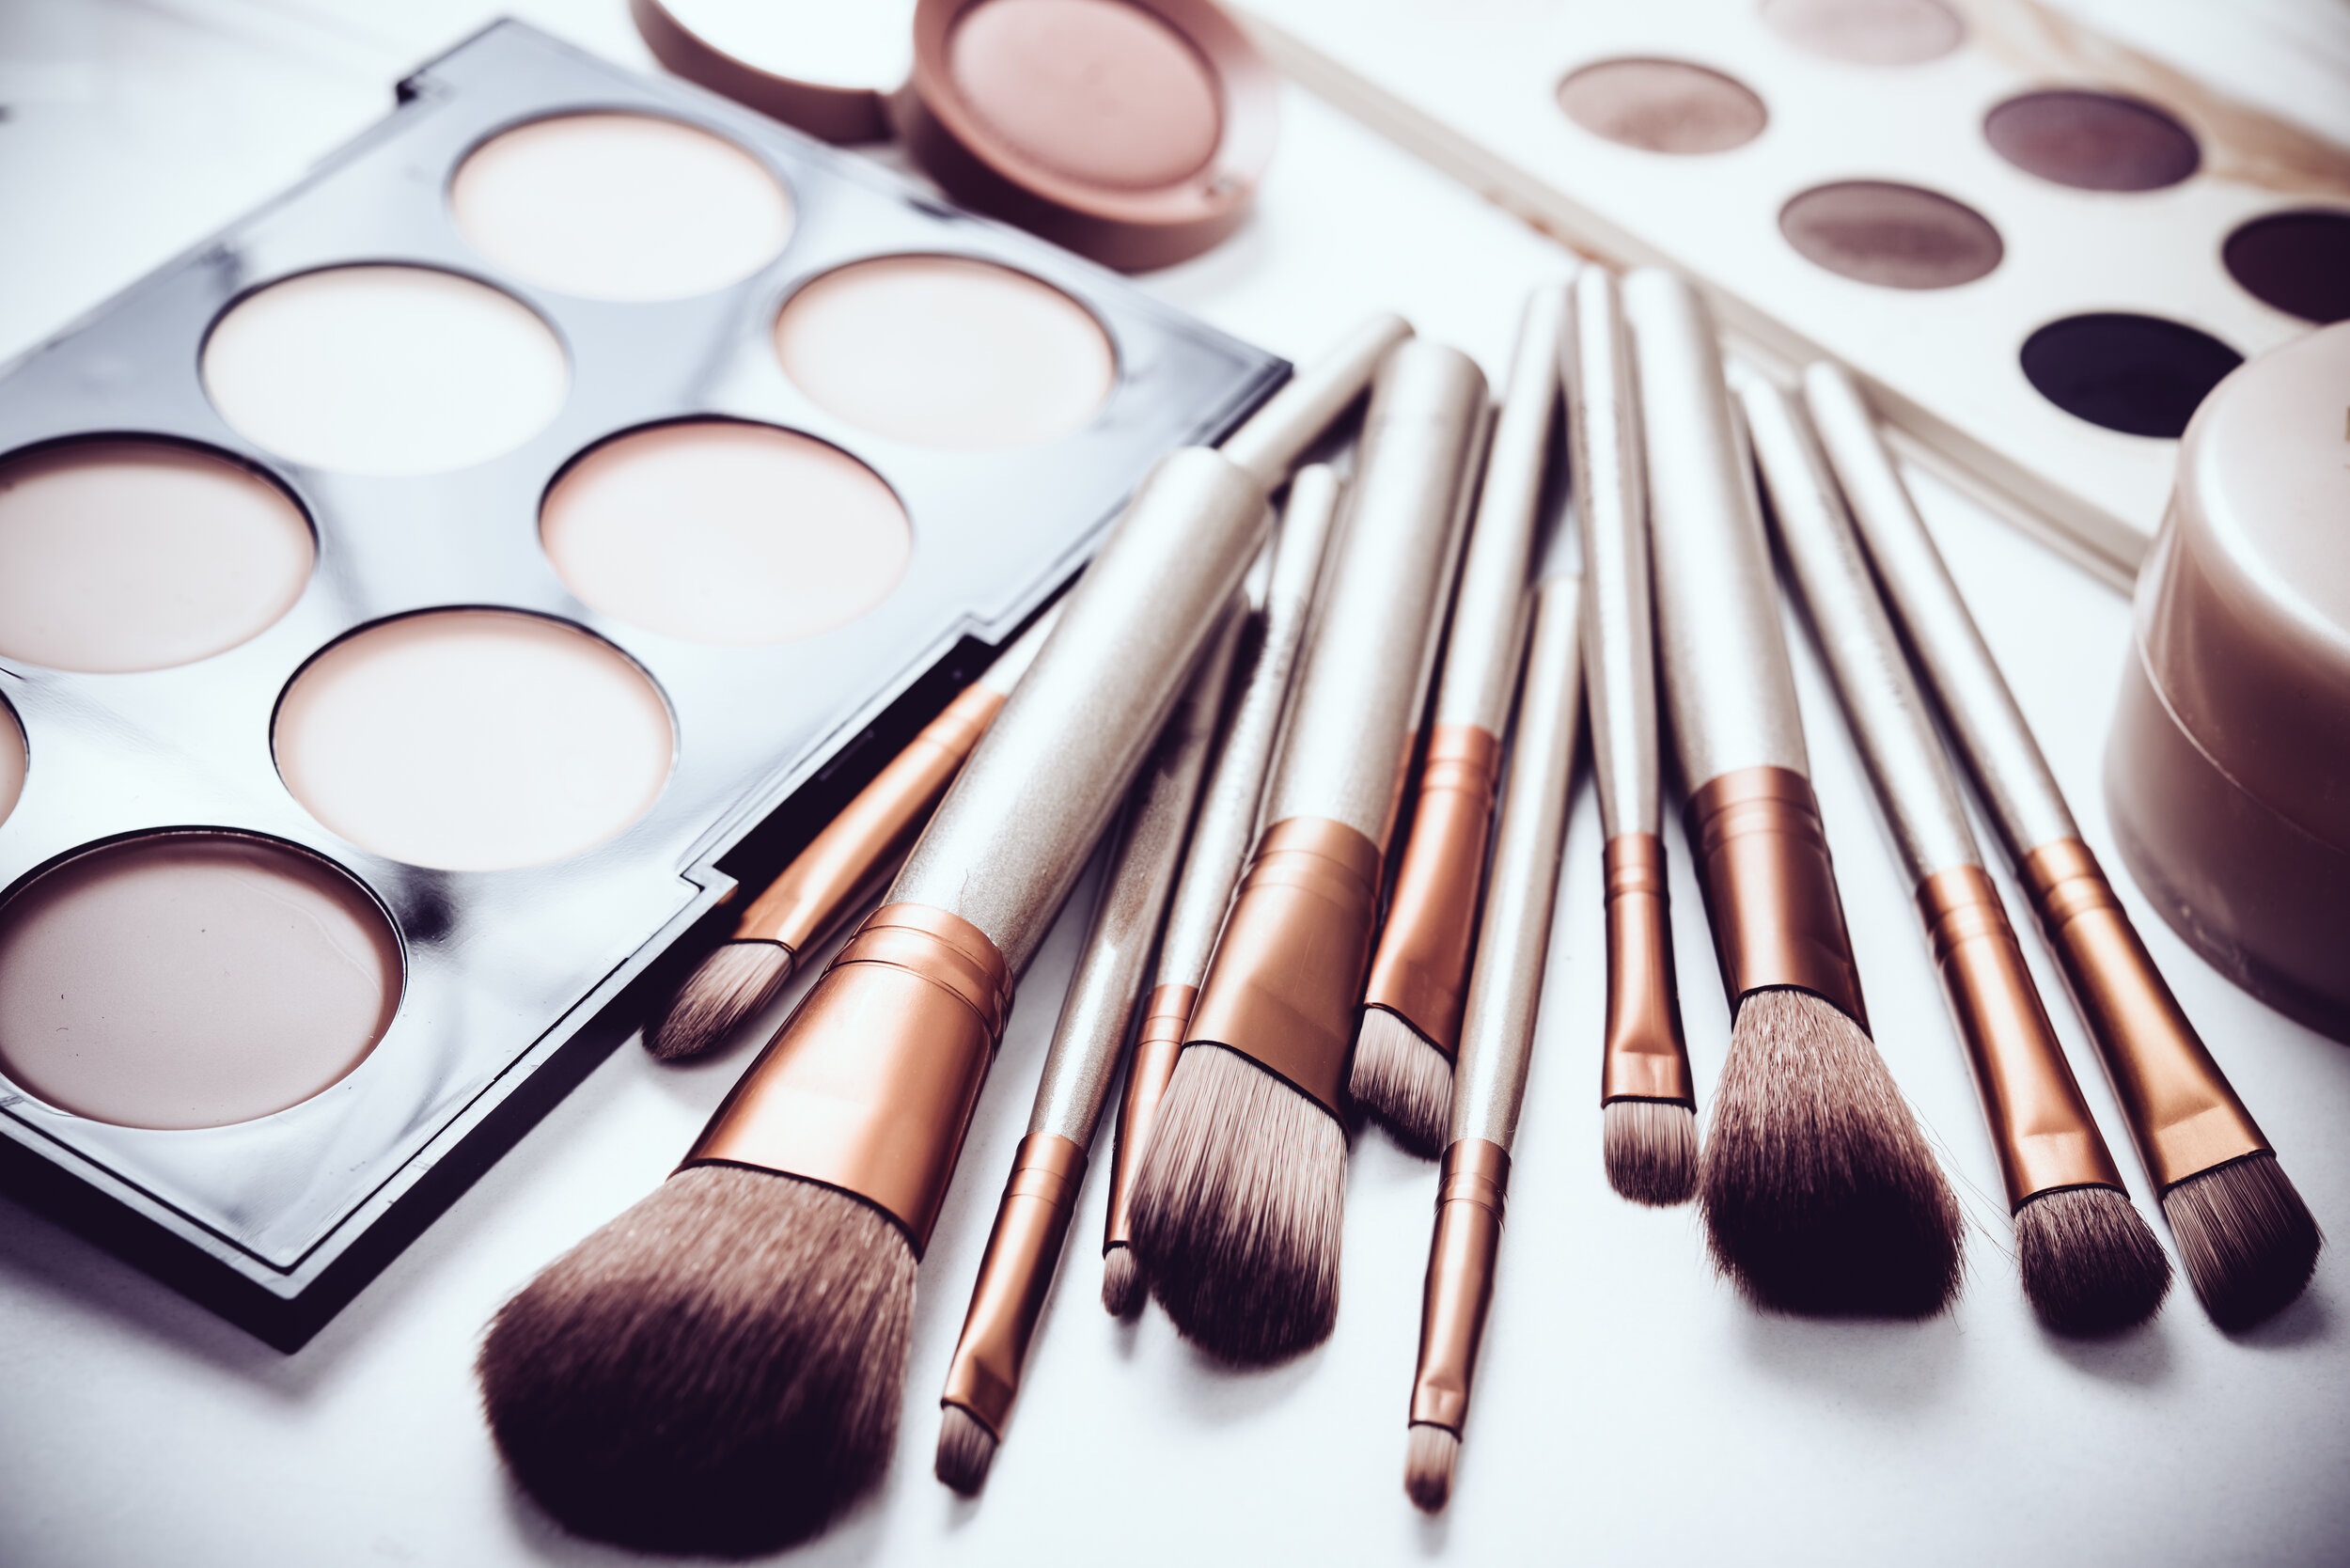
Be organized! - Organization is key to ensuring your makeup application doesn’t take longer than it needs to. Ashley recommends you organize your brushes by function (keep eye brushes together, complexion together, lips together etc.). You don’t need to have an expensive kit to keep yourself organized either. The Dollar Tree or Dollarama has great stationary cups you can use for brushes, or small trays or baskets for bigger items.
Eye Tips – The biggest tip here is to understand your eye shape. The way that I apply eyeshadow versus the way Kayla applies hers is going to be different because we have very different eye shapes. For example, I have slightly hooded eyes, meaning you can’t see a lot of my eyelid when my eyes are open. And I have quite a bit of space between my eyebrow and my crease. So for you to actually see the shadow on my eye, I have to take the colour up a little higher in my transition area. The transition area is the space between your eyelid and your eyebrow.
When applying a transition shade, you want to choose a shadow that is close to your natural skin tone, but not too light as you still want to be able to see the colour. Start on the outer edge of the eye and move into the center.
Tip: Ashley suggests using your bronzer in your crease! It’s a great way to use the same product multiple ways, and helps with that cohesiveness. A great brush Ashley recommends for the crease is the Morphe 504.
Eyebrows – This could honestly be an entire post in and of itself! When you’re filling in your brows, the colour you choose is pretty important to keep your makeup still looking natural. If you are lucky enough to have a nice full brow, you don’t need to worry too much! But if you have sparse, thin brows, you’ll want to fill them in in a way that compliments your face shape and your skin tone.
Tip: Ashley recommends that if you have darker hair, pick a colour that is two shades lighter than your brow hair, and if you have lighter brows, pick a colour that will match your hair root. Some of her favourite eyeshadows to use to fill in the brows are Mac’s Omega for blondes, and Mac’s Coquette for darker hair.
Now both Kayla and I have our brows microbladed, but there are times where we want our brows to appear bolder and darker and we need to add a little product to help them pop.
Tip for microbladed brows: Use cooler tones if microblading healed warm, and warmer tones if your brows healed cool.
4. Foundation and Concealer – Have you ever bought a foundation that seems to be the perfect match and then you realize you’re starting to resemble an oompa loompa a few hours later? I have…it wasn’t pretty. Some foundations tend to oxidize so much more than others. What does that mean? Oxidization happens when the oils on your skin and the pigments in your foundation interact, turning your face a lovely shade of orange. So how in the heck do you avoid this? Use a primer. If you have oily skin, find an oil control primer that will help combat some of the oil/foundation interaction.
For concealer, start on the inner corner of the eye and work your way out to your temples. Focus on the pigmentation and use a sponge or beauty blender to blend up to eyelid.
Tip: Ashley recommends colour matching your foundation to your neck and chest as opposed to your face. When applying the foundation, use a pea size amount. Less is definitely more when it comes to foundation. Start with a very small amount and work off a tray or palette, rather than applying the foundation directly to your face. It is much easier to add more if needed, than to try and remove what’s already on your face. One of Ashley’s go-to foundation brushes (which isn’t actually a foundation brush) is the Morphe M536.
5. Bronzer, Blush & Highlight – These are hands down my favourite makeup products to play around with. Between bronzers and contour shades, it can be a little overwhelming when choosing the right colour. And once you choose the right shade, how do you know exactly where on your face to apply it? The goal with these products is to lift the face. And unfortunately, it’s really easy to place your bronzer/contour shade a little too low and instead of giving you a lift, it can actually have the opposite effect.
Tip: For contour, Ashley says to start by the top of your ear and work towards your mouth. You’ll want to stop once you get to the outer corner of the eye. From there, lift the brush and feather upwards. Always start in the hair line after you grab more product, and taper once you get to the edge to give a more natural look. Be sure to push into hairline, all around the sides of the forehead, and to bring down the product to the temples but no further than the bottom of the eye. (You want some space between the forehead contour and your cheek contour). If you wish to contour your nose, go to thinnest part of nose and drag all the way down. Dust off excess powder if you use too much product.
For blush, apply just above cheek bone to lift and blend upward into contour.
For highlight, you want to apply this right above the blush. Avoid applying highlight near fine lines as this will accentuate them. A great option is to use liquid highlighter as opposed to powder, or use dewy drops for a more radiant glow.
Tip: Ashley showed us how to save time and money by using one brush to apply your contour, blush and highlight! If you pinch the bristles in different ways, it will change the way your product is applied. Ashley’s go-to brush for all things face related is the Mac 129.
Thank you so much to Ashley Tiopo for sharing some of her best makeup tips with us! Ashley can be found on Instagram or on her website. Please be sure to visit her pages.
We really hope you enjoyed these makeup tips! We would love for you to share one of your favourite tips or products with us!
